Danni build - February 11: Getting the frame together
Time in the shop: 8 hours
Parts completed: lateral supports (1), cylinder support (2), frame base (3).
The first full day on the Danni build was mostly marking, drilling and getting set up. The kit parts arrive pre-milled, so the outline shapes were already there.
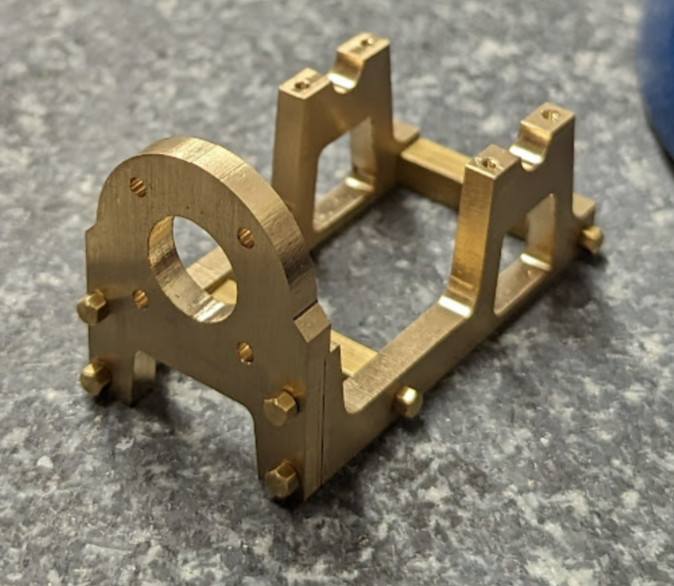
The lateral supports, cylinder support and frame base in a first test assembly.
Locating the holes
I used the DRO on my small X2 mini-mill rather than marking out every hole position. I had fitted inexpensive iGaging scales to the mill; the readout was useful for this work. There is a video of that DRO installation.
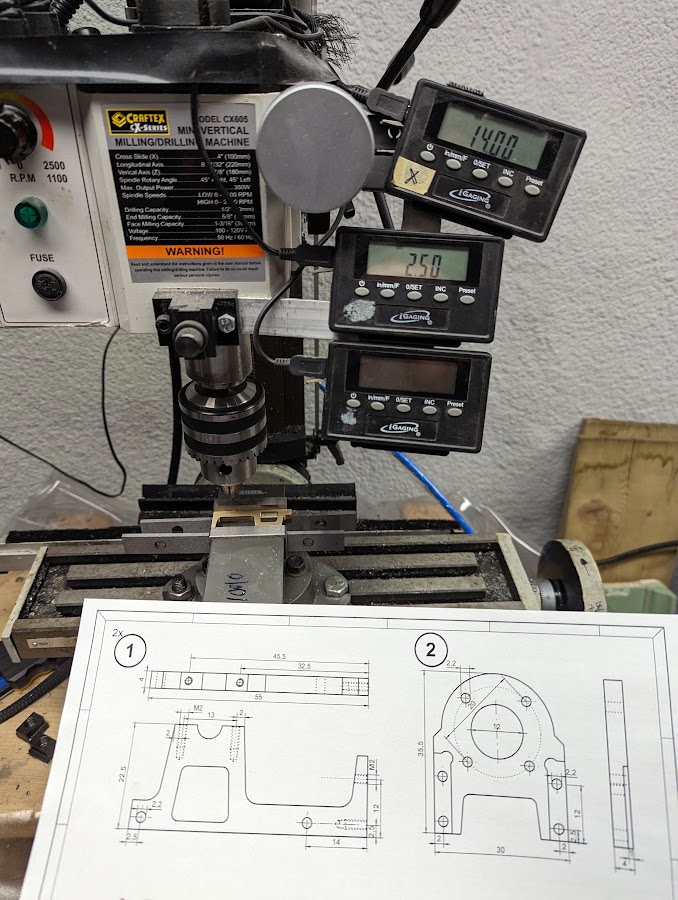
Setting up to locate the holes with the DRO.
Tapping the small holes
I ordered some small tap holders alongside the kit. They were a great help with the very small taps and made it feel less likely that I would break one.
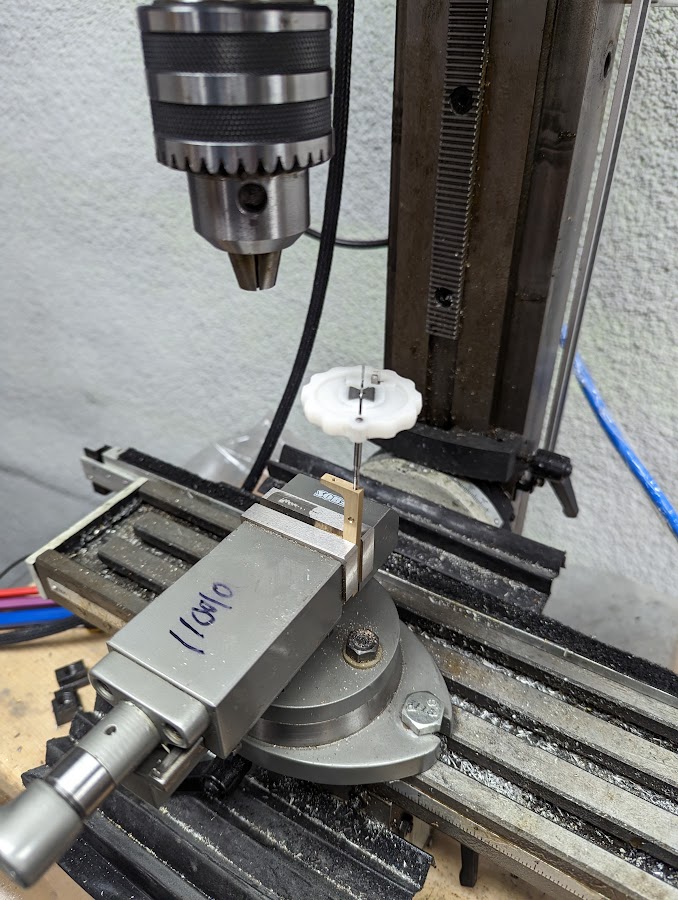
A small tap holder made the fine tapping work feel more manageable.
Holding the frame-base stock
For the frame base I made a split bushing so the three-jaw lathe chuck could hold the square stock.
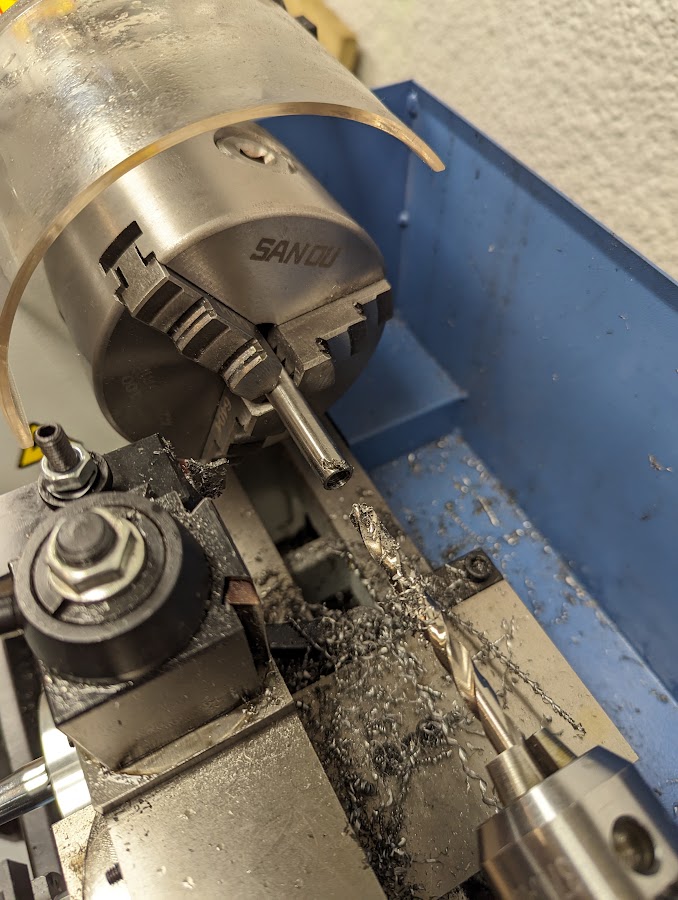
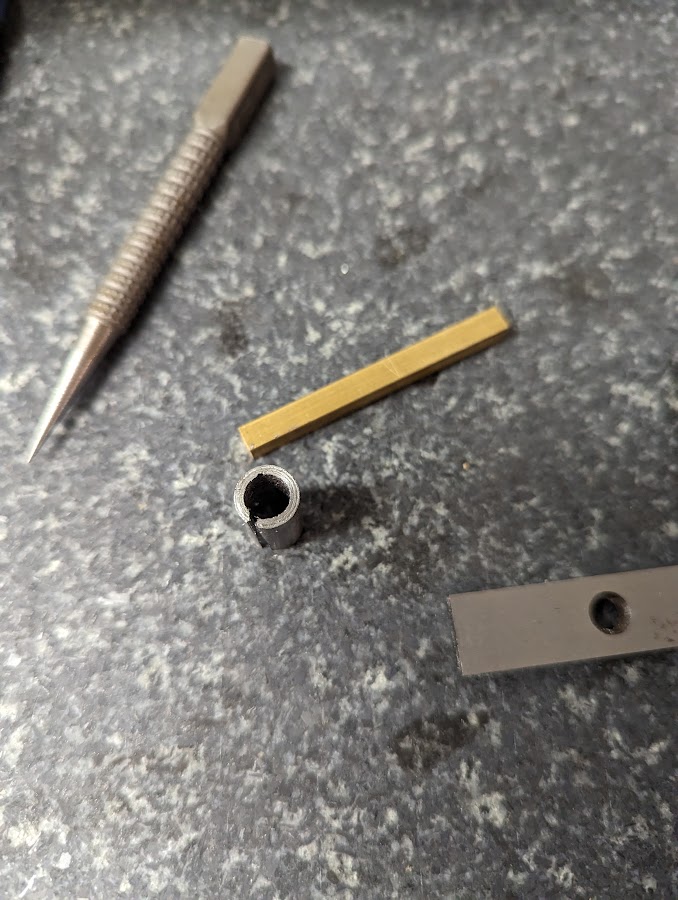
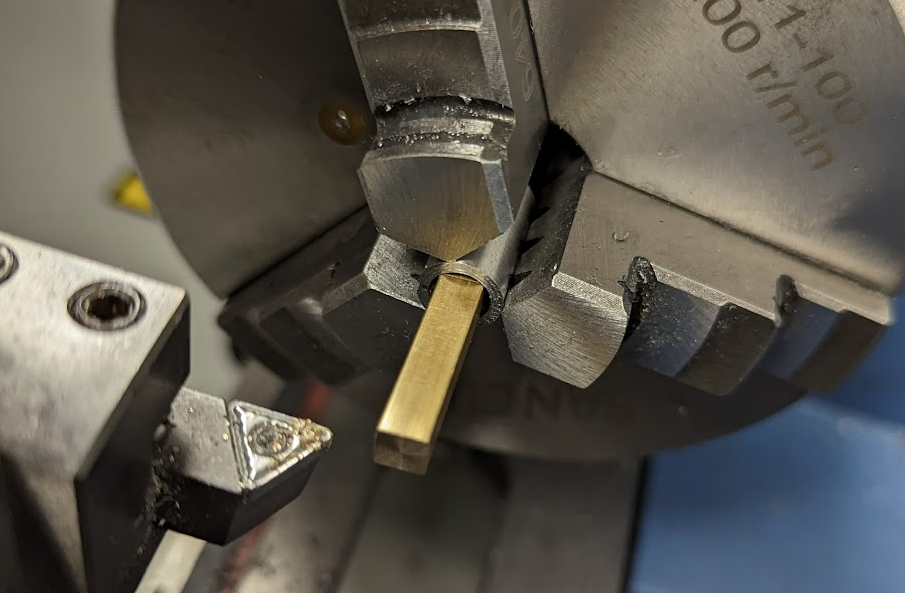
The split bushing used to hold the frame-base stock.
Workshop note: Measure the actual stock before making the bushing. I used 3/8-inch stock drilled with an H bit, but had to clamp it more than I liked. A G bit might have been a better starting point.
Where I stopped
Parts 1, 2 and 3 were complete and ready for a test fit. Next was the cylinder.